Import Assessment Scores from Provider Website
Navigation: DataMap > Admin > Import Assessment Scores
Note: Assessment scores can be imported from a provider’s website only by users who have been assigned the DataMap - Assessment Admin role in StudentInformation.
You can import scores for some assessments directly from the assessment provider’s website. To use this import method, you need a username and password for the provider’s website.
Note: Importing scores from some provider websites requires special instructions. In addition, the file you request may not be immediately available.
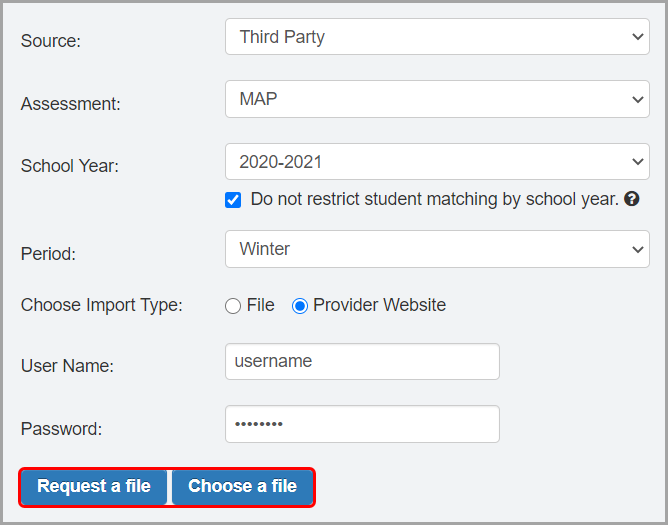
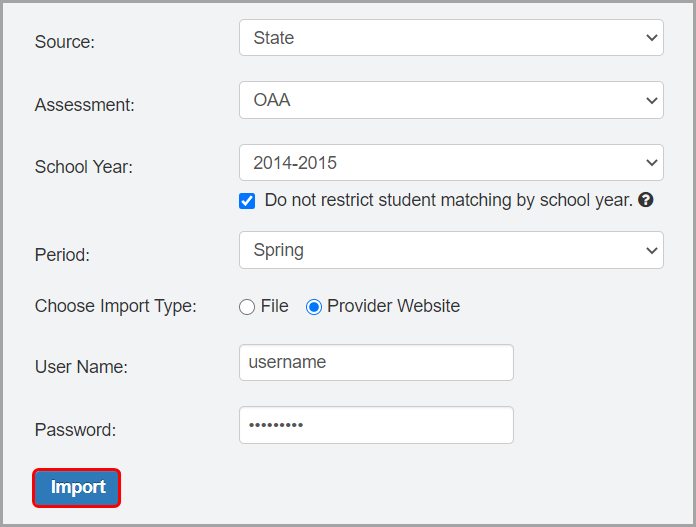
1.On the Import Assessment Scores screen, in the Source drop-down list, select the source of the scores you want to import (you can import State or Third Party scores from a provider’s website).
2.In the Assessment drop-down list, select the assessment for which you want to import scores.
3.In the respective drop-down lists, select the School Year and Period for which you want to import scores.
Note: When a reporting period is not applicable for an assessment, the Period defaults to Other and DataMap imports the scores based on the test date.
4.(Optional) Select the Do not restrict student matching by school year checkbox to ensure that all available assessment data is imported even if a student was not enrolled in the district and does not have history in StudentInformation for the school year in context.
5.In the Choose Import Type area, select Provider Website.
6.In the appropriate fields, enter your Customer ID Number (AIMSweb and aimswebPlus only), User Name, and Password for the provider’s website.
Note: If you are importing Istation assessment scores, the District Name field and Grade drop-down list also display. In the District Name field, enter your district’s name. In the Grade drop-down list, select the grade level of the students whose scores you are importing.
7.Based on the third-party instructions for the assessment you are importing, click Request a file, Choose a file, or Import.
Request a File or Choose a File
Import
Note: If you selected Request a File in step 7, the file may not be immediately available. Wait the required amount of time for the third-party provider to provide the file. Then, repeat step 1 through step 7 and click Choose a File.
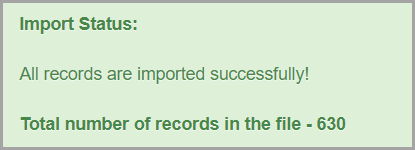
Once the file is available, the import process attempts to match students from the provider’s website to students in StudentInformation based on various criteria (see “Understand Import Requirements” ). If the import is successful, the Import Status message displays the total number of records in the file.
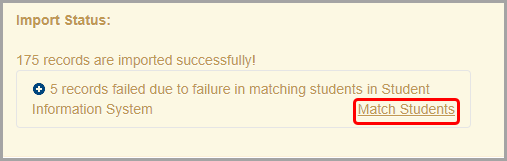
Note: If DataMap cannot find a match for a student in StudentInformation when you import assessment scores, the Import Status message displays. Click Match Students, and follow the instructions for “Resolve Unmatched Students.”
Note: If assessments are successfully imported but the Assessment Available notification has not been set up or the notification failed to send, the following message alerts you to this:
“Warning: Assessment Import succeeded but sending Assessment Available notifications failed.”
If your district does not use the Assessment Available notification, you can ignore this warning. It does not impact the import. For more information about the Assessment Available notification, see the StudentInformation Notifications Guide.