You can create a seating chart that includes customized information about each student. GradeBook provides many options for adjusting the color and size of desks, displaying students’ pictures on desks, and displaying comments. You can create multiple seating charts for each roster.
1.On the Teacher Home Page or Class Dashboard, below Class Administration or Classroom Administration, respectively, click Seating Chart.
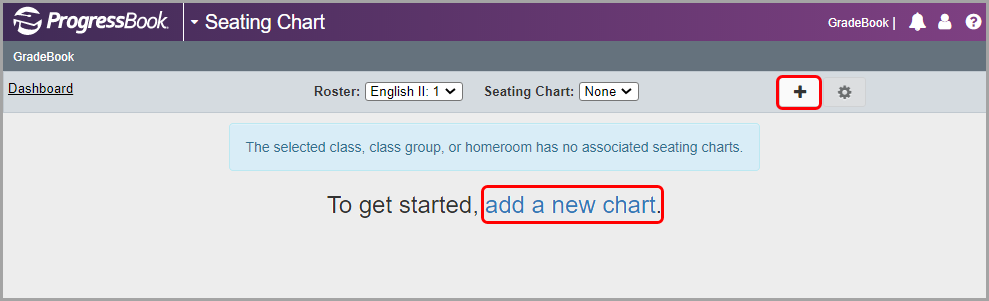
The Seating Chart screen displays.
2.(Conditional) If you accessed the seating chart from the Teacher Home Page, in the Roster drop-down list, select the class, class group, or homeroom for which you want to create a seating chart.
3.If you have not created a seating chart for this roster, click ![]() or add a new chart.
or add a new chart.
|
|
The Create a Seating Chart screen displays.
4.In the Name field, enter the name for the seating chart.
5.(Optional) In the Print Comment field, enter any comments you want to display on the printed seating chart.
6.In the Desk Size & Color area, complete any combination of the following tasks:
•In the Desk Color drop-down list, select a color for the desk.
•In the Font Color drop-down list, select a color for the student’s name and other text on the desk.
•Select the Show Desk Comments checkbox to display individual student comments on each desk by default.
•Select the Show Student Picture checkbox to display student pictures, when available, on each desk.
•Select the Show Daily Attendance checkbox to display the daily attendance code for each student on each desk.
•Select the Show Name Pronunciation checkbox to display information about how to pronounce a student’s name on each desk if this information is saved for the student in StudentInformation.
•The Show Preferred Name checkbox defaults as selected, which means a student’s preferred name is displayed when you click to expand the student’s desk. If you do not want to include students’ preferred name on the Seating Chart, clear the selection.
7.In the Attendance area, select either or both of the following checkboxes:
•Allow Daily Attendance – In the Daily Attendance view, this option lets you select a daily attendance code from a drop-down list on each desk.
•Allow Period Attendance – In the Period Attendance view, this option lets you select a period attendance code from a drop-down list on each desk.
8.Click Save.

You can now add desks and labels to the seating chart as desired.