•To complete activities with questions, see “Completing Activities.”
•To complete discussions, see “Participating in Online Discussions.”
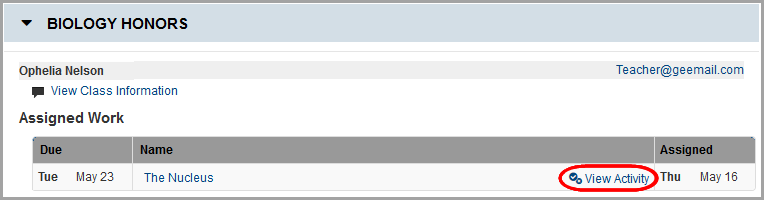
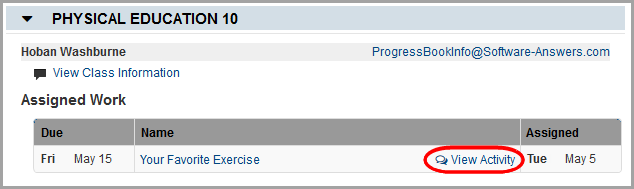
Upcoming assigned activities display on the Planner screen with a View Activity link beside them in the Assigned Work section.
1.On the Planner, in the row of the activity you want to work on, click View Activity.
Note: You can also open the activity from the Activities screen. (See “Viewing Online Activities.”)
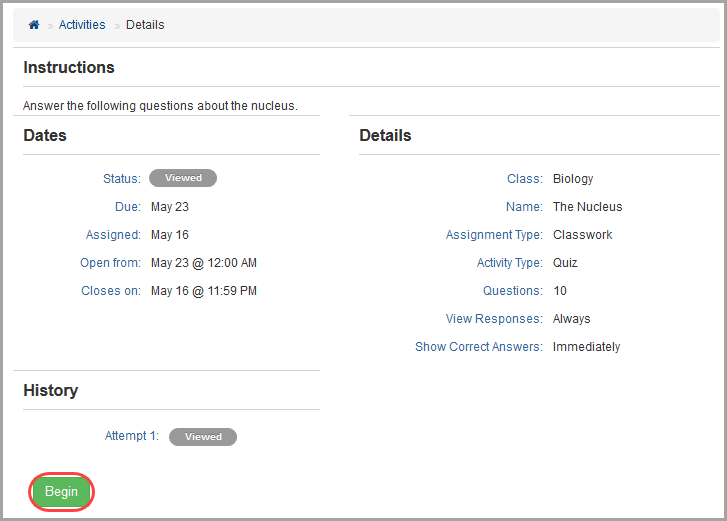
The Activity Details screen displays. If the assigned activity is open, you can start or continue working on it.
2.Click Begin or Continue as appropriate.
Note: You can only work on activities during the time period set by your teacher. For example, you may be able to see an upcoming activity but not start it until you are in class.
The activity screen with the title of the activity opens.
Note: If the Activity Discussion screen displays instead, this activity is a discussion. See “Participating in Online Discussions.”
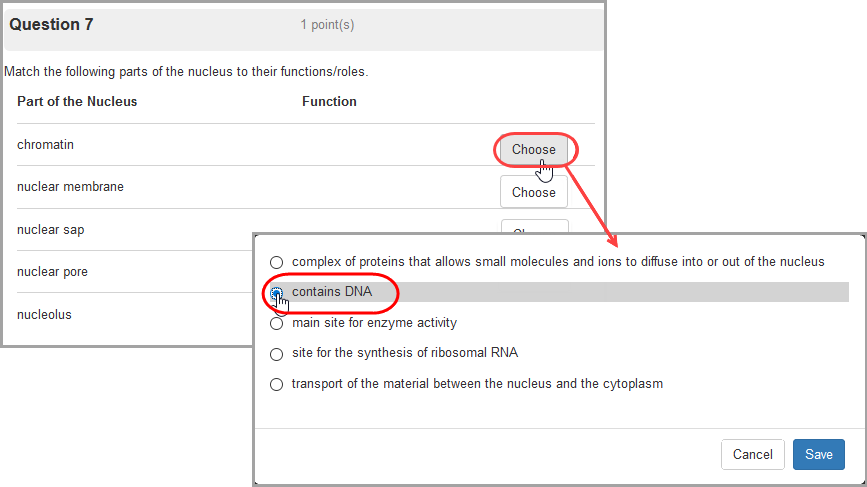
3.Work through the questions in the activity.
Note: The activity autosaves every 15 seconds as you work.
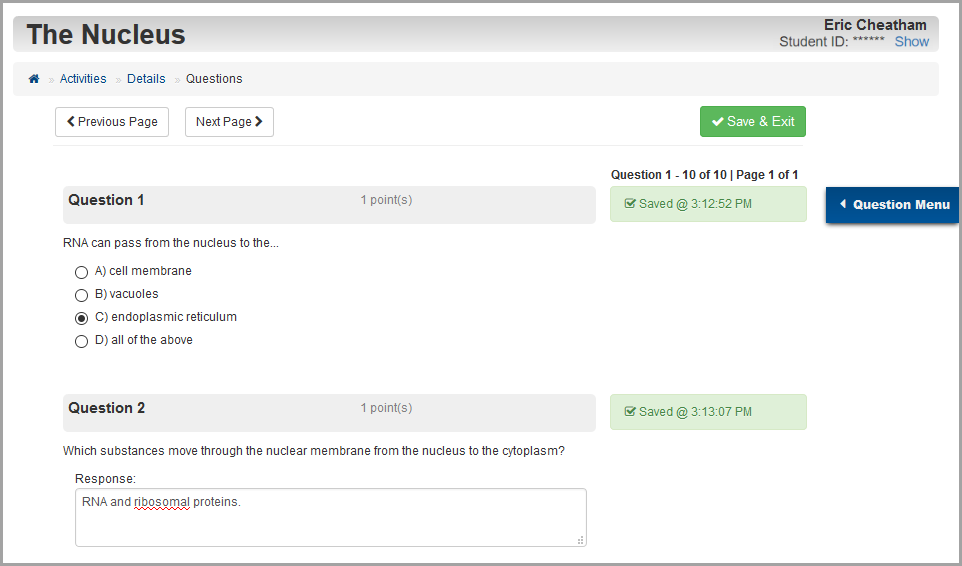
Note: Matching questions with long response choices require you to click Choose, and then you can select a response from the list that displays.
Note: For certain questions, you may be able to upload a file from your device or record audio in your browser by clicking  or
or  , respectively. File sizes and audio recording length maximums are determined by the system administrator.
4.(Optional) If you want to view a condensed list of the questions found on the activity and whether or not your responses to those questions have been saved, on the right of the screen, click  .
.
The question menu expands:

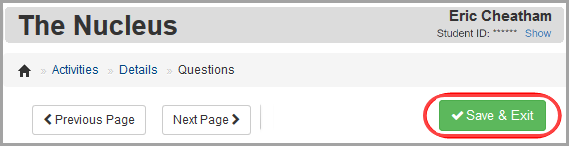
5.When you are finished with the activity (or if you want to take a break and come back to the activity later), click Save & Exit.
Note: You can still return to the activity and work on it later. Clicking Save & Exit does not submit the activity for grading.
A list of all questions and their point value displays. Your progress on each question displays in the Status column.
6.(Optional) If any question does not display a Status of “Saved,” click the question to return to it and complete it. (You can also review your answers to any saved questions.)
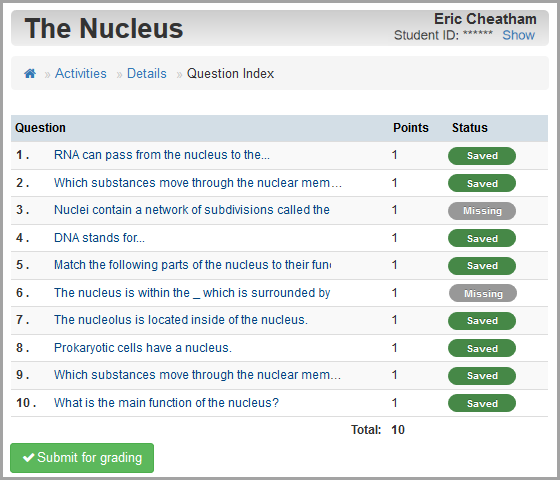
7.When all questions have a status of “Saved” and you are ready to submit the activity for grading, click Submit for grading.
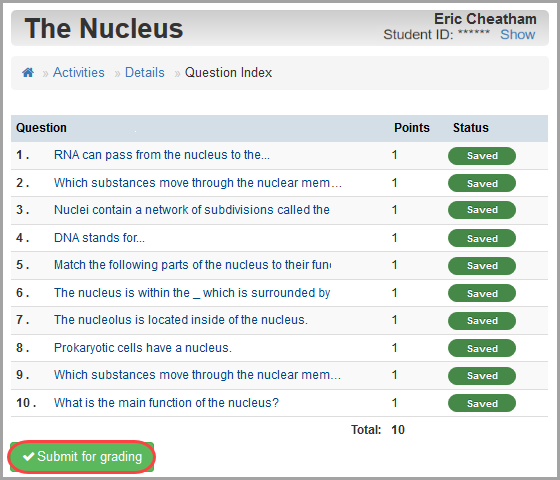
8.On the Submit Answers window, click Ok.
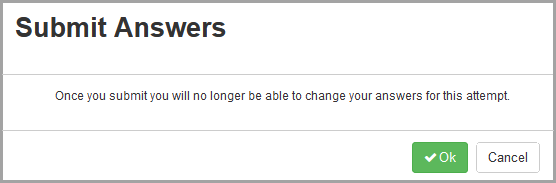
A confirmation message displays.
Note: Depending on your teacher’s setup, you may be allowed to review your answers after submitting the activity for grading. If the questions still display as links, you can click them to review your answers.
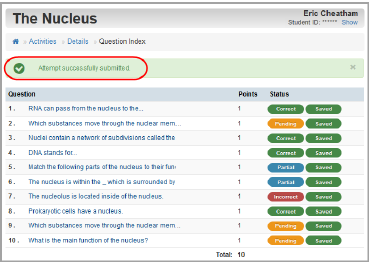
Note: Depending on your teacher’s setup, you may be able to view whether certain questions are correct or incorrect as soon as you submit your answers. For file upload or response-type questions, the status displays as Pending until your teacher grades them manually.
Participating in Online Discussions
Online discussion activities are assigned by your teacher for your participation. Your teacher posts instructions describing the discussion guidelines and designates the required number of posts you must submit as well as the number of replies to other students’ posts (if any).
1.On the Planner, in the row of the discussion you want to join, click View Activity.
Note: You can also open the discussion from the Activities screen. (See “Viewing Online Activities.”)
The Activity Details screen displays. If the assigned discussion is open, you can start or continue working on it.
Note: If the scheduled time frame for the discussion has passed, you have a read-only view of the discussion and can not respond to any posts.
2.Review the due date and requirements, and then click Begin, or click Continue if you have already started posting to the discussion.

The Activity Discussion screen displays.
3.In the Create your new post here box below your teacher’s directions, enter your response. If other students have posted responses, those display below the Create your new post here box.
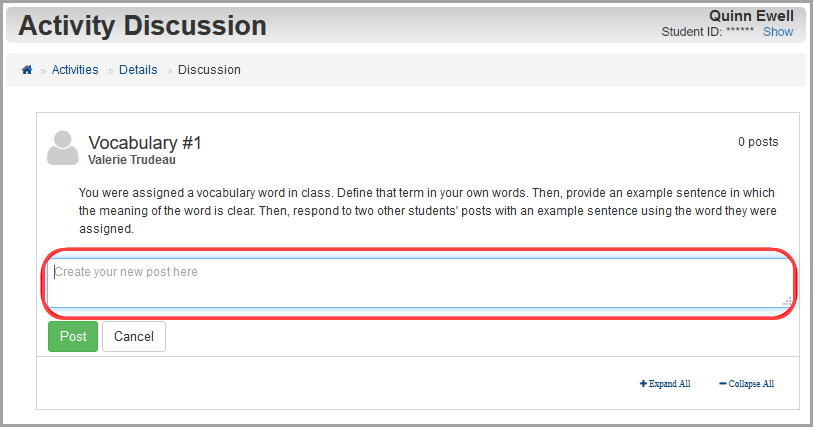
4.Click Post to submit your response.
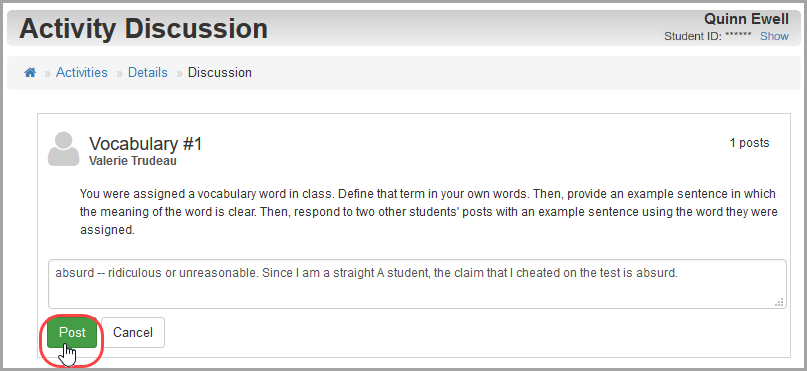
Your response displays below your teacher’s instructions.
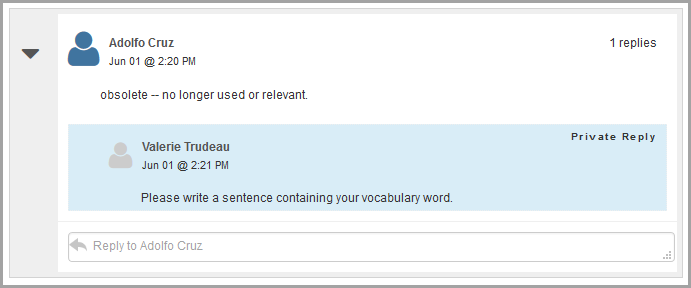
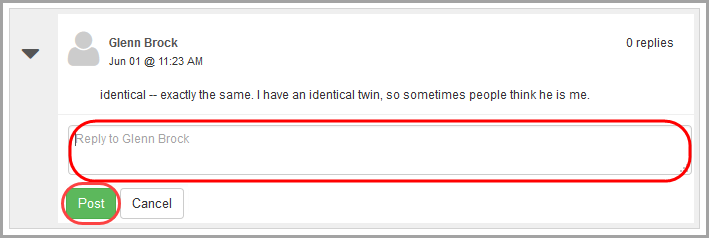
5.(Optional) If you want to reply to other students’ posts, in the Reply to (student name) box below the post to which you want to respond, enter your reply, and then click Post.
6.(Optional) If your teacher writes you a private reply (as shown in the top-right corner of the message), you can review the teacher’s message and, if requested, make any necessary updates.
Note: No other students can view a private message sent to you
|
|
Caution: You cannot respond privately to your teacher. Any reply you post, if approved, can be viewed by other students. |
.