|
|
Adding Desks to a Seating Chart
You can add individual desks manually, or you can automatically arrange desks for your entire roster.
Adding Individual Desks
1.At the top left of the seating chart, click Edit.
|
|
2.Click Add Desk.
|
|
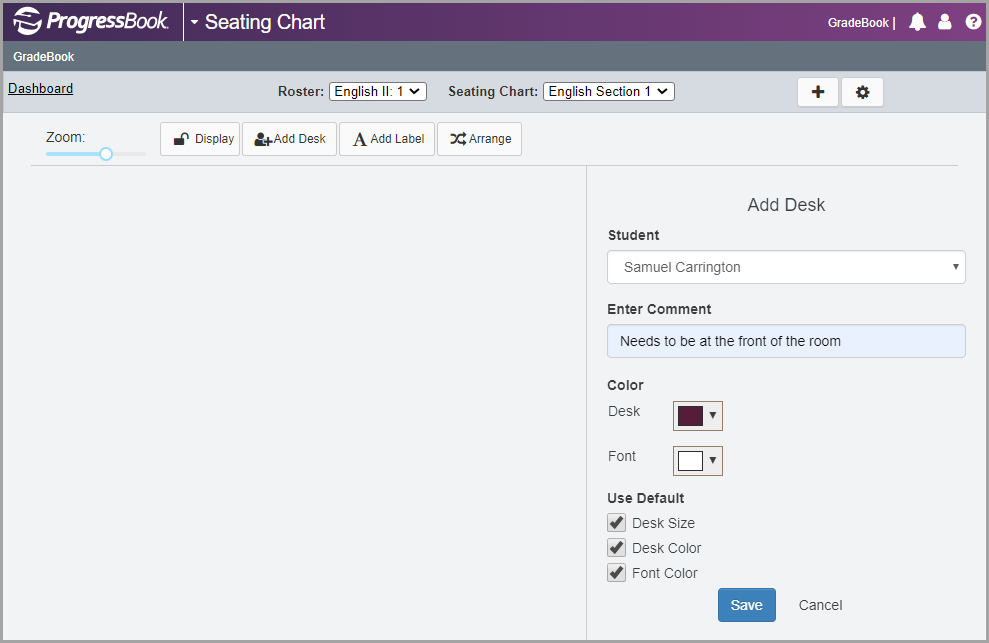
The Add Desk panel displays on the right side of the screen.
3.In the Select Student drop-down list, select the student for whom you want to add a desk.
4.(Optional) In the Enter Comment field, enter any comments you want to display on this student’s desk. If you selected the Show Desk Comments checkbox when creating the seating chart, the comment you enter here displays on the desk. This comment also displays when you hover your cursor over
on the desk.
5.(Optional) Select a different Desk Color and Font Color for this student.
6.(Optional) If you do not want this student’s desk to use the default desk size, desk color, or font color, deselect the Use Default Desk Size checkbox, the Use Default Desk Color checkbox, and the Use Default Font Color checkbox, respectively. You can also use these checkboxes to reset a changed desk to the default size and colors.
7.Click Save.
|
|
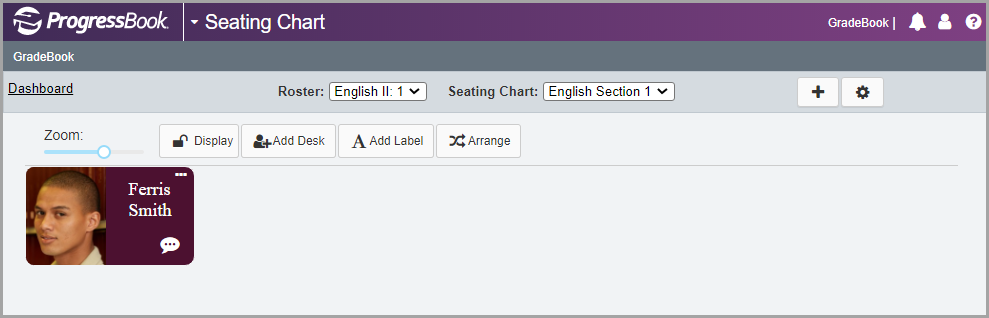
The desk displays at the top left of the seating chart automatically. You can move the desk manually as desired.
|
|
Automatically Arranging Desks
Note: If you are arranging desks immediately after creating a new seating chart, the Desk Arrangement panel displays automatically and you do not need to complete step 1 and step 2.
1.At the top left of the screen, click Edit.
|
|
|
|
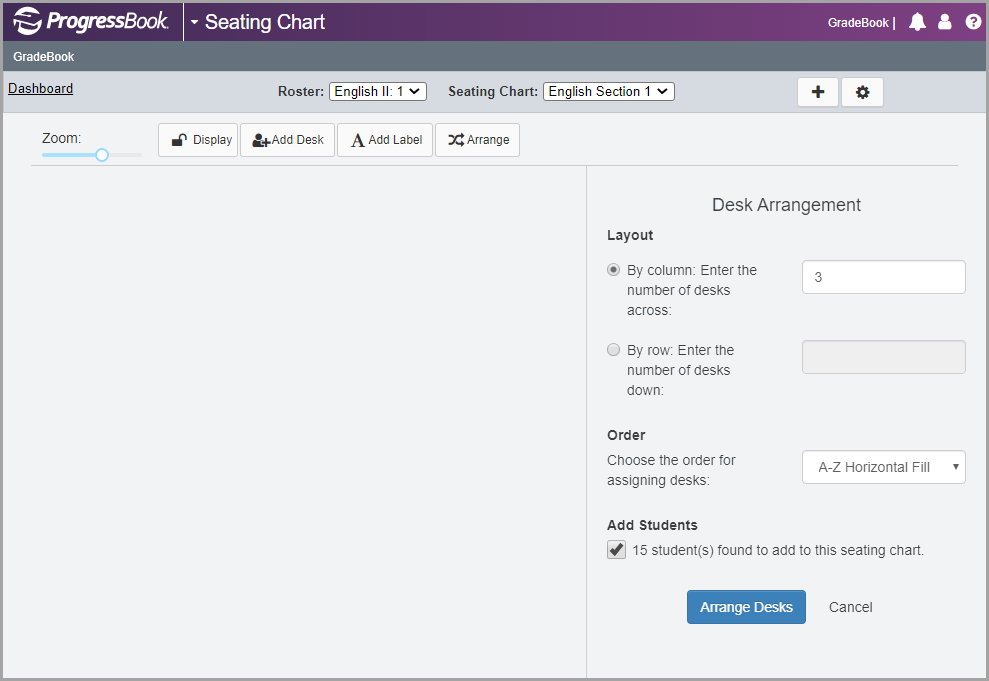
The Desk Arrangement panel displays on the right side of the screen.
3.In the Layout section, select either By column or By row.
•If you selected By column, in the Enter the number of desks across field, enter the number of desks you want to display across a row.
•If you selected By row, in the Enter the number of desks down field, enter the number of desks you want to display down a column.
4.In the Order section, in the Choose the order for assigning desks drop-down list, select one of the following sort orders:
•A-Z Horizontal Fill
•A-Z Vertical Fill
•Z-A Horizontal Fill
•Z-A Vertical Fill
•Roster Order Horizontal Fill (this option respects the order you have designated for your class on the Class Roster screen)
•Roster Order Vertical Fill (this option respects the order you have designated for your class on the Class Roster screen)
•Random
5.In the Add Students section, select the [#] student(s) found to add to this seating chart checkbox.
6.Click Arrange Desks.
|
|
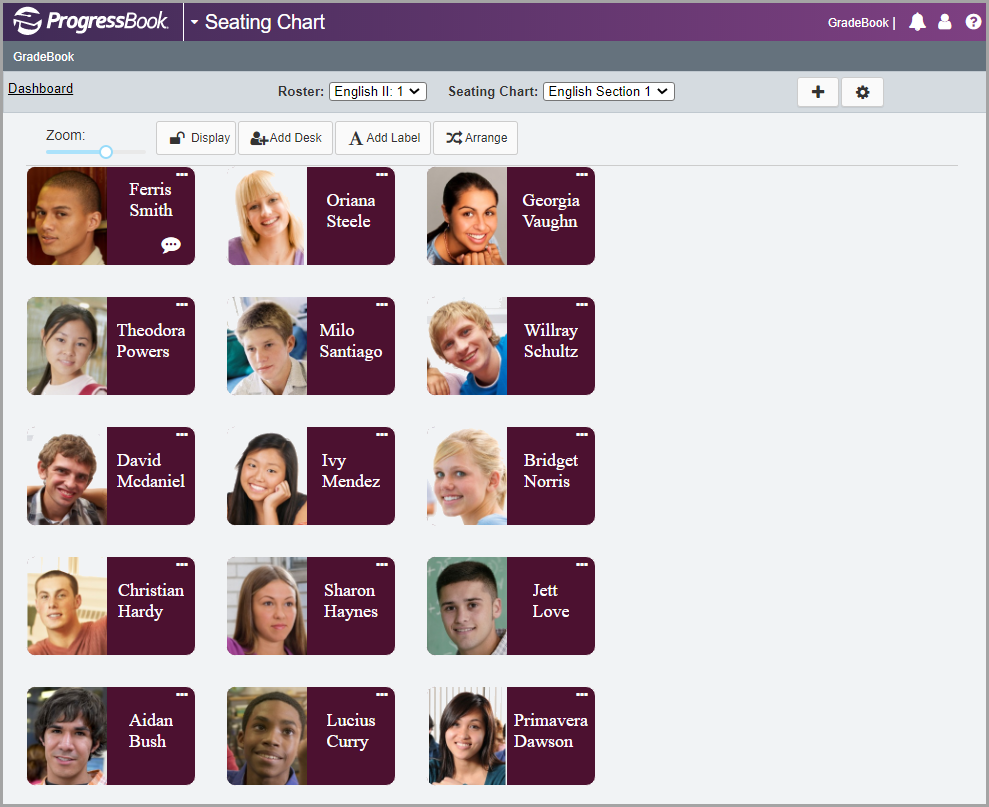
The desks display on the screen and you can make further changes as necessary. To close the Desk Arrangement panel, click

.
|
|