|
|
Syncing Assignments and Marks for Custom Setup 2
Note: Refer to the beginning of the “Google Classroom™ Assignments and Marks” section for more information about the necessary setup for Google Classroom Sync.
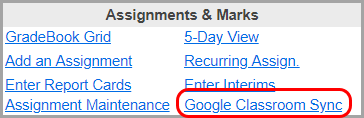
1.On the Class Dashboard for the desired standards-based class, below Assignments and Marks, click Google Classroom Sync.
|
|
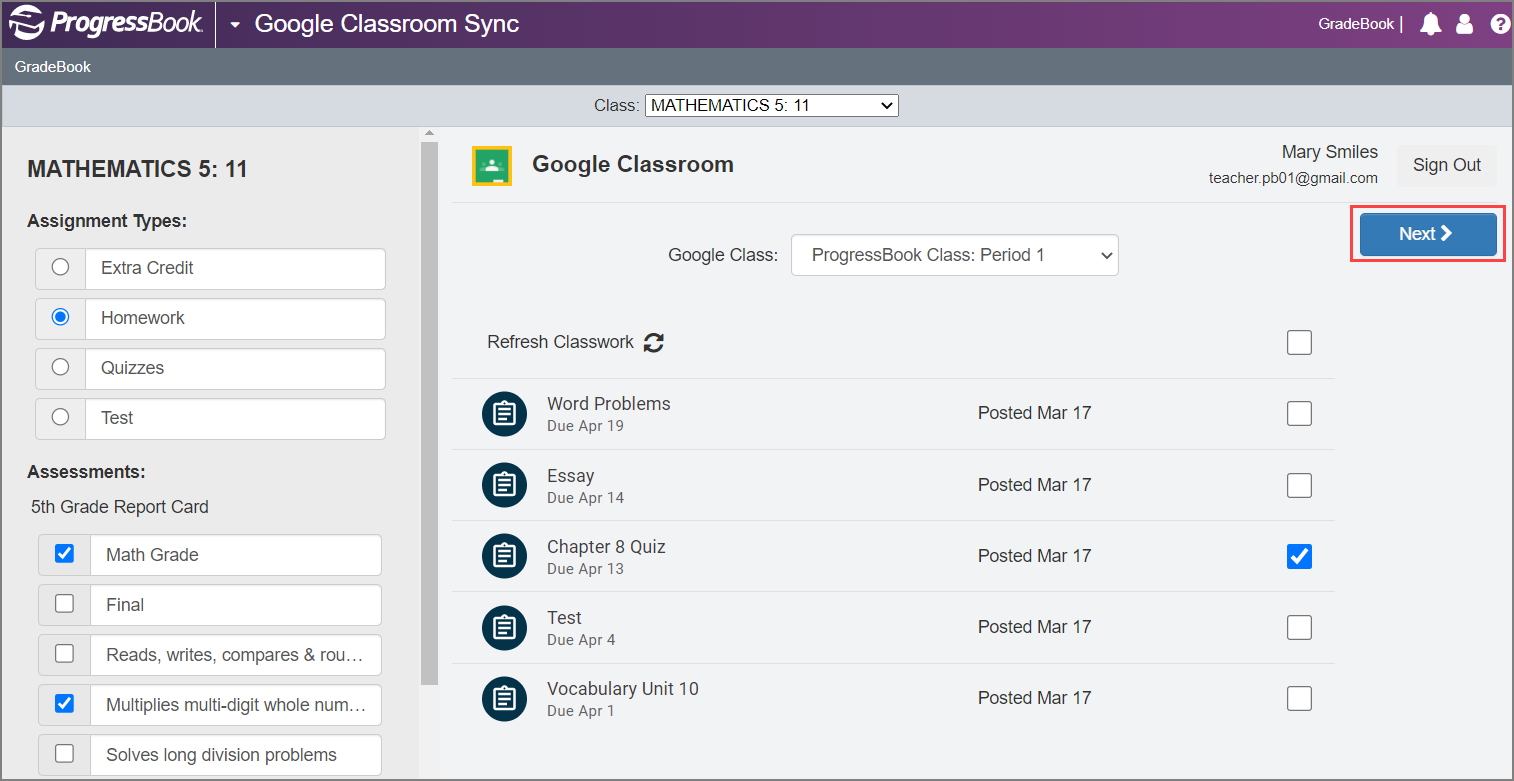
The Google Classroom Sync screen displays.
Note: For an assignment that you have synced previously, you can also use the Google Classroom Sync option at the top of the Assignment Marks screen to access the Google Classroom Sync screen for the class with which you are working. If you have not synced the assignment previously, access Google Classroom Sync from the Class Dashboard.
2.In the Assignment Types area, select the GradeBook assignment type to which you want to categorize one or more Google Classroom assignments.
Note: If some or all of your assignment types do not display, those missing assignment types do not have a mark type format of numeric textbox, and therefore, no marks can be imported for them. See a system manager for assistance.
3.In the Assessments area, below the desired report card, select the checkbox beside each assessment you want to associate with the imported assignment.
In the Google Classroom area, a Google Classes drop-down list displays containing your available Google Classroom classes, including section information.
4.In the Google Classroom drop-down list, select the desired class.
Assignments you have created in Google Classroom for that class display below the drop-down list.
5.(Optional) Click an assignment to display an expanded box that indicates the following:
•the date on which the assignment was posted in Google Classroom
•the number of students who have turned it in
•the number of students to whom it was assigned
•the number of submissions that have been graded
Note: You must return the assignment to your students in Google Classroom before marks display in ProgressBook.
6.Select the checkbox for each assignment for which you want to sync marks.
Note: You can use the checkbox at the top of the list of assignments to select all assignments listed on the screen. Using the checkbox to select all assignments may increase the duration of the sync.
7.Click Next.
One or more grids display, showing each assignment that you want to sync, then showing each student’s name, the assessments included on the assignment (each has its own row), the student’s existing mark (if any) for the assignment, and the new mark you are importing from Google Classroom into ProgressBook.
8.(Optional) Deselect the checkbox beside each student whose marks you do not want to import. All students are selected by default. Use the checkbox at the top of the grid to toggle between selecting and deselecting all students.
Note: Students who are not selected do not have marks imported regardless of whether the Overwrite existing marks toggle is enabled.
9.(Optional) Enable the Overwrite existing marks toggle to overwrite the GradeBook marks with Google marks for all selected students.
Note: Google marks for selected students who do not have existing marks in GradeBook are still imported when the toggle is disabled.
10.Review all marks for accuracy, and then click Sync.

Note: In the row of any students in GradeBook who do not match students in Google Classroom, a message displays to indicate that they could not be matched by email address or name. Therefore, no marks can be imported for these students.
Note: The same mark is imported for all report card assessments. You cannot divide the overall mark among the assessments.
The Sync Complete! message and one or more grids of imported marks are displayed.

11.(Optional) Click Sync New to import more marks for other assignments.
12.(Optional) Above the grid, click the assignment name link to view the Assignment Marks screen for the GradeBook assignment created for the Google Classroom classwork.