
Add a RIMP on the RIMPs Screen
Navigation: DataMap > Interventions > RIMPs
1.On the RIMPs screen, click Add RIMP.
2.On the Add RIMP window that opens, enter at least 3 letters of the student’s first or last name.
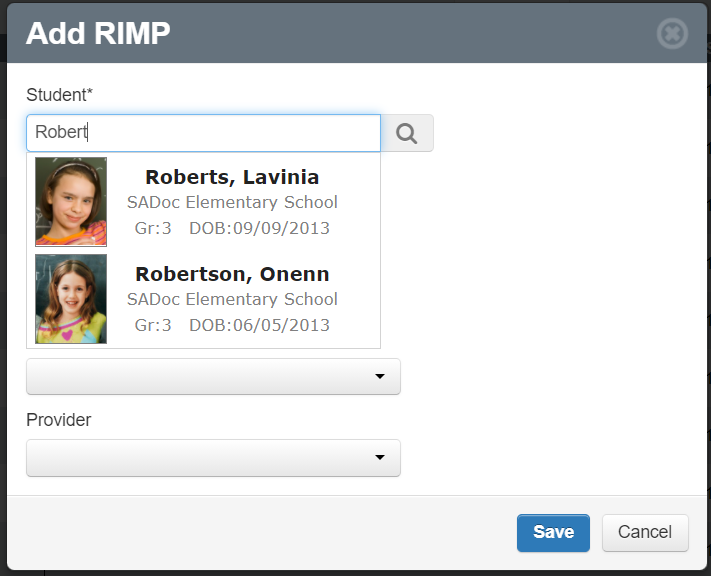
3.In the drop-down list that displays, select the student for whom you want to add a RIMP.
Note: To remove the student, beside the Student field, click ![]() .
.
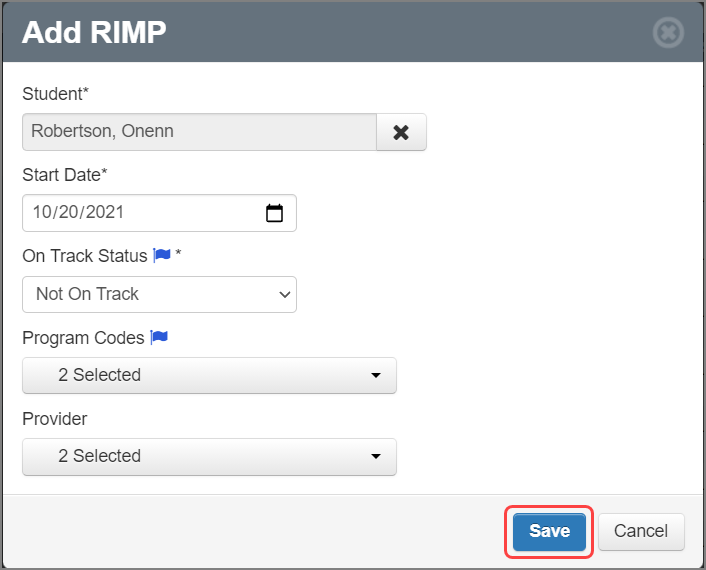
4.Enter or select a Start Date.
Note: If you enter or select a Start Date that does not fall between August 1 and May 30 of the current school year, an error message displays and you cannot save the RIMP.
5.Select an On Track Status.
6.(Optional) In the Program Codes drop-down list, select the checkbox(es) beside the program code(s) you want to associate with this RIMP. Or, to select all program codes, select the Select All checkbox.
7.(Optional) In the Provider drop-down list, select the checkbox(es) beside the name(s) of the provider(s) for this RIMP. Or, to select all providers, select the Select All checkbox.
8.Click Save.
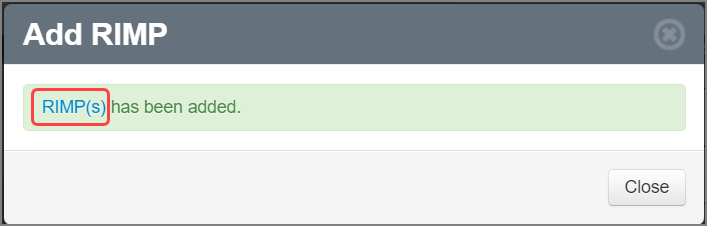
A success message displays.
Note: Click RIMP(s) to view the Edit Student RIMP screen General tab.
Note: For information on editing RIMPs, see “Edit a RIMP.”